I finally finished off the animation for Catprint! All I have left to do is add the sounds, refine the timing and add credits and then I'll finally be free!
I might use Aftereffects or Premier Pro to add the credits and time the animation to the music as I learned how to use the programs doing A New Game for the stop-motion paper.
I managed to finish off Catprint and showed it to my brother for critiquing- he said that it needed better sounds (I used public music libraries and in some instances it shows) and that the addition of shadows would improve the overall animation quality. These are valid critiques that I would try to implement if I had more time, but I am happy with where the animation is at now.
Showing posts with label BSA 127. Show all posts
Sunday, 29 October 2017
Monday, 9 October 2017
Catprint progress
This week I worked on flattening out some of the scenes, as making them "3D" has caused them to disregard the layer order and introduced more problems than it solved. I also coloured some of the frame-by frame scenes. This weekend, I'll probably work on animating the Monk's arms frame-by frame to be able to finish the writing room scenes
To keep myself entertained, I finished animating and coloured some of the scenes, especially those with Mite (the cat)
I managed to finish off the ink-making scene. I attached a transparency node to the inkwater to get it to slowly change colours. To get the transparency node to work, I linked it to the ink water node through a 'image' link and keyframed the transparency to go from 70 to 0 (mostly transparent to completely opaque).
I managed to pull Manuscript transcripts from https://lichfield.ou.edu/st-chad-gospels/gallery for the areas of the animation that require the illuminated manuscript to be in the shot
you can see where I had put in the manuscript text in this scene of the animation
Monday, 25 September 2017
Catprint progress
This week I worked on the backgrounds some more
The white areas are transparent so I can make animated backgrounds on ToonBoom
I also continued doing the frame-by-frame of the characters.
The white areas are transparent so I can make animated backgrounds on ToonBoom
I also continued doing the frame-by-frame of the characters.
Monday, 18 September 2017
catprint progress
For some of the more complex and fluid motions made by the cat, frame-by-frame is needed, so that is what I focused on this week
frame by frame of the cat licking itself.
Here's the roughs of the cat jumping onto a desk and placing something down
Monday, 11 September 2017
Catprint progress
This week I worked on cleaning up the cat puppet and inserting it into scenes where the cat is in. I decided to have multiple drawings saved for the cats head as it moves around, is seen from multiple angles and is the only asymmetical element of the cat (meaning I can't flip the cat model unless I have multiple heads).
This is very rough and will be polished in further passes. I now notice that for part of this scene the cats head patch is on the wrong side.
Monday, 4 September 2017
catprint progress
This week we learned how to set up and rig a puppet on ToonBoom.
Here's a quick puppet I made using the cat (Mite) as a template slipping around in the void. It's done with 0 research on how cats move and is a simple experiment on how I can make a puppet move.
While I'm doing this, I am also making backgrounds for the animation using photoshop.
One of the backgrounds of the Monk Antonio's writing room
I also made a puppet of the cat sitting down. This just shows me that I really need to work on Mite's proportions. To prevent the character from slipping around, try to note the feet placement.
I also added a head turn and some ear twitches to incorporate some images in the library
Monday, 21 August 2017
Catprint animatic progress
The animatic is nearly done! I've added some animated movements into the animatic, which caused no end to my frustration. There are still some minor pacing issues, but I'm worried that if I try to fix them, it'll mess with the rest of the animatic because I have so much stuff going on in it. I've also added the sounds I've recorded (some were a bit too quiet so I will go onto my freesound.org account to find suitable replacements).
I may delete some animation keyframes in the animatic as some of the movements are a bit too fast on playback
Here's the video, although it may not play because this is Blogger
Catprint is copyrighted to M. Askew
I may delete some animation keyframes in the animatic as some of the movements are a bit too fast on playback
Here's the video, although it may not play because this is Blogger
Monday, 14 August 2017
2D animatic
This week I was adding some animations and cleaning up the animatic for the 2D animation.

For future reference, it'll save me a lot of headaches if I just put each moving element as it's own drawing and peg layer- the moving elements start to interact with each other in unwanted ways if they are all on the same layer.
Monday, 7 August 2017
BSA 127 pitch bible + animatic
This week in BSA 127, I finished off my pitch bible and started my animatic.
For the pitch bible, making a background image in Microsoft Office Word results in the image tiling when it is printed. To fix this, remove the picture as a background and set it as a watermark instead and set it's scale to 100%.
Today for the animatic, I had timed out the shots (the entire thing came to be about a minute and a half long). Next time, I'll try to figure out the camera so I can incorporate the pans I have planned in the storyboards into the animatic.
I also have to incorporate sounds into the animatic to help time it out.
Here's a picture of version 1 of the animatic. I have yet to incorporate camera movements and sound. Art and Story are copyrighted to me.
Monday, 31 July 2017
127 classwork
After sacrificing my weekend, I managed to finish my storyboards.
I exported them from ToonBoom and collated them using the Photoshop template provided in class
Here's page 3 of my storyboards, where the cat is caught leaving footprints over the manuscript, which the monk erases. Then begins a new scene where the monk is transcribing and the cat appears.
I may clean these storyboards up in Photoshop (make the backgrounds distinguishable from the characters, add minor shading to the characters etc.)
Sunday, 23 July 2017
127 classwork Monday
Today in class I finished the treatment, wrote up some character bios and sorted out my pitch bible appearance.
For the background of the pitch bible, I used the image of vellum (a type of parchment made from calf skin) shown above.
I quickly made these images in Photoshop to add to the character bios
This image was added to the treatment page. I'm going to really work on the colour palettes, because some elements of the scene do not work
Saturday, 15 July 2017
BAS 127 character concepts
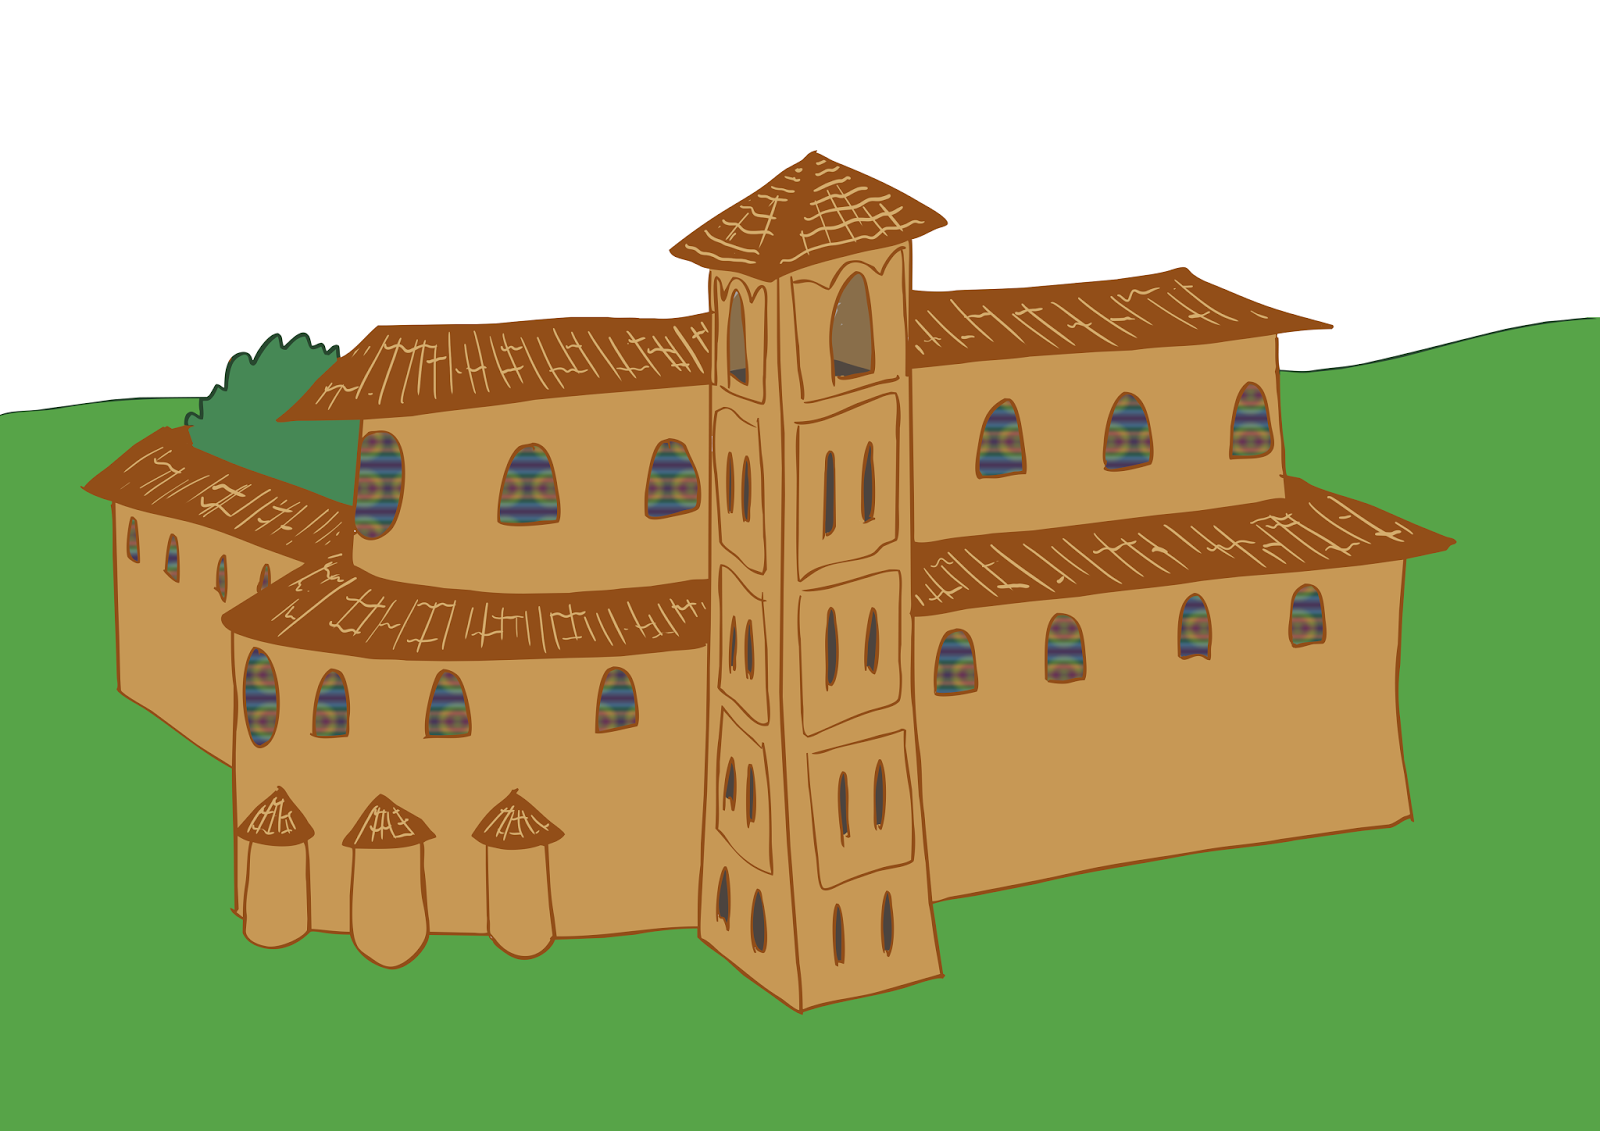
In BSA 2127 this year, we are making a short (30s to 2 min) 2D animation. I decided to base my story in this picture of an image of an Italian 15th Century manuscript from Croatia, where a cat has walked across it.

Image source:
http://news.nationalgeographic.com/news/2013/03/130326-animals-medieval-manuscript-books-cats-history/
The story logline is basically a monk is trying to finish a manuscript and finds his work interrupted by a monastery cat.
Since the story is based in 15th Century Mediterranean monastery, I had to do research on mediterranian cat breeds, 15th Century fashion, 15th Century monks, manuscript writing and illumination processes and what tools were used in manuscript writing.
For 15th Century monk references, I found some illustrations on getty images which were more in line with the monk character
I'll provide site links since blogger hates images
Image source:
Image source:
http://www.gettyimages.co.nz/detail/news-photo/figure-of-monk-detail-from-the-miracle-of-poison-fresco-by-news-photo/154713625#figure-of-monk-detail-from-the-miracle-of-poison-fresco-by-the-second-picture-id154713625
The first 5 costume ideas were from the fashion website, and the last two (bottom right) were from the monk images
Getty museum once again proved useful with their Youtube tutorials on what the manuscript writers and illuminators did throughout history (see
Image source:
http://news.nationalgeographic.com/news/2013/03/130326-animals-medieval-manuscript-books-cats-history/
The story logline is basically a monk is trying to finish a manuscript and finds his work interrupted by a monastery cat.
Since the story is based in 15th Century Mediterranean monastery, I had to do research on mediterranian cat breeds, 15th Century fashion, 15th Century monks, manuscript writing and illumination processes and what tools were used in manuscript writing.
Mediterranean Cat Breeds:
Since the Mediterranean region borders both Africa and Europe, it has an ancient and extensive history featuring lots of migrations in both people and the animals they take with them. Due to this there are no distinct cat breeds that are endemic to the Mediterranean region.15th Century Fashion:
for the fashion, I used the information found in the Men's section on this website: http://world4.eu/italian-14th-century-clothing/, although the website was a useful resource for historical fashions, the human character was a monk, so I needed to look elsewhere.For 15th Century monk references, I found some illustrations on getty images which were more in line with the monk character
I'll provide site links since blogger hates images
Image source:
Image source:
http://www.gettyimages.co.nz/detail/news-photo/figure-of-monk-detail-from-the-miracle-of-poison-fresco-by-news-photo/154713625#figure-of-monk-detail-from-the-miracle-of-poison-fresco-by-the-second-picture-id154713625
The first 5 costume ideas were from the fashion website, and the last two (bottom right) were from the monk images
Manuscript writing and Illumination Process:
For what tools the monk is going to use, I researched the manuscript writing and illumination process. Since script writing and illumination were time-honoured traditions, and the only way to print books prior to the printing press, their processes would remain largely unchanged for centuries.Getty museum once again proved useful with their Youtube tutorials on what the manuscript writers and illuminators did throughout history (see
The
process of making ink may be of some use in the story, so I also looked at
tutorials on how to make iron gall ink from oak gall nuts:
Text reads from top to bottom:
Manuscript
writing tools
[quills
were often made from] goose flight feathers
[manuscript]
pages made from stretched leather
[quill]
shaved down to make room for hand
[manuscript]
lines would be ruled prior to writing
flat
[quill] tip produces this kind of writing
mistakes
can be scraped away
generates
'dust'
'Gall
nuts' or carbon are used to make black ink
gall
nut on oak
[gall
nut] contains tannins for ink
manuscript
would be written on an angle because of how gravity interacts with ink and
quills
top
half [of quill feather] thinner than bottom (flight feather)
Character expression sheets:
The expression sheet and rough sketches of the cat
character
text reads top to bottom:
[the cat is] just out of kittenhood
have the cat be skinny to contrast man[uscript] writer
large, expressive eyes +ears
maybe use whiskers to push expressions?
The expression sheet and rough sketches of the monk
character
text reads top to bottom:
can simplify lines
repeat this shape
stain fingers w[ith] ink?
short fingers + wide palms
large sleeves
only show eyes when really necessary?
Character turnarounds:
I cleaned up the characters and did turnarounds using
ToonBoom, at the tutor's suggestion.
The cat turnaround
The monk turnaround
The colour pallets of the characters may be subject to
change, but I'm relatively happy with their overall appearance thus far.
Next I may have to sort out backgrounds and environments
Subscribe to:
Posts (Atom)